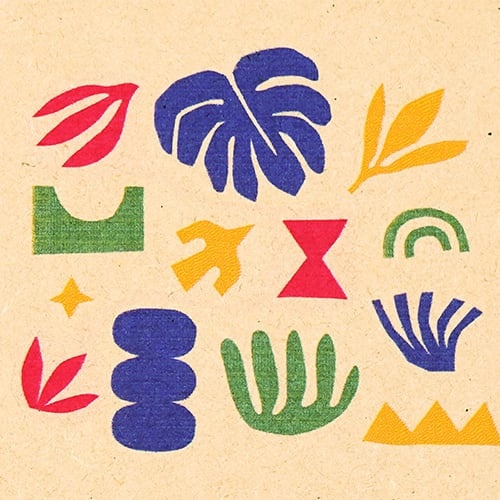


Bring vivid colors to your laser creation with Ador
- Posted on
- Posted in accessories, Branding, Education, material: bamboo, material: cardboard, material: fabric, material: wood
Learn more on how to use Ador’s printing module and the process of creating artwork with it. Laser cutters have become invaluable tools for small businesses and studios seeking to personalize products. They expand the range of possibilities, allowing products to stand out as unique and more appealing to customers.
Laser cutters have become invaluable tools for small businesses and studios seeking to personalize products. They expand the range of possibilities, allowing products to stand out as unique and more appealing to customers. Various personalization techniques are achievable with a laser cutter, including custom logo engraving and model assembly. By selecting the appropriate personalization method, you can ensure the creation of durable and long-lasting custom artwork. While these techniques are prominent, they represent just a fraction of what’s possible.
Quick guide to the Ador printing module
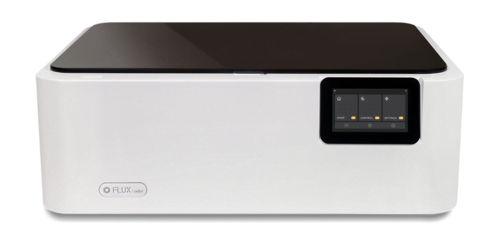
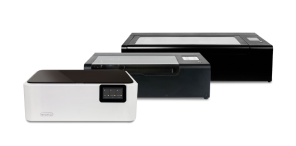
This is where Ador steps in, offering a new dimension of personalized creativity. Ador can be equipped with three interchangeable, high-quality modules: a diode laser, an infrared laser, and a printing module. This versatility empowers creators to not only cut and engrave a wide range of materials but also to add vibrant colors to their projects, elevating the level of craftsmanship and innovation.
As crafters are already well-acquainted with laser cutting and engraving techniques, we will focus on Ador’s printing module, which has garnered significant interest. Join us as we explore the functionality of this printing module, demonstrating its capabilities and the impressive results it achieves on various materials.
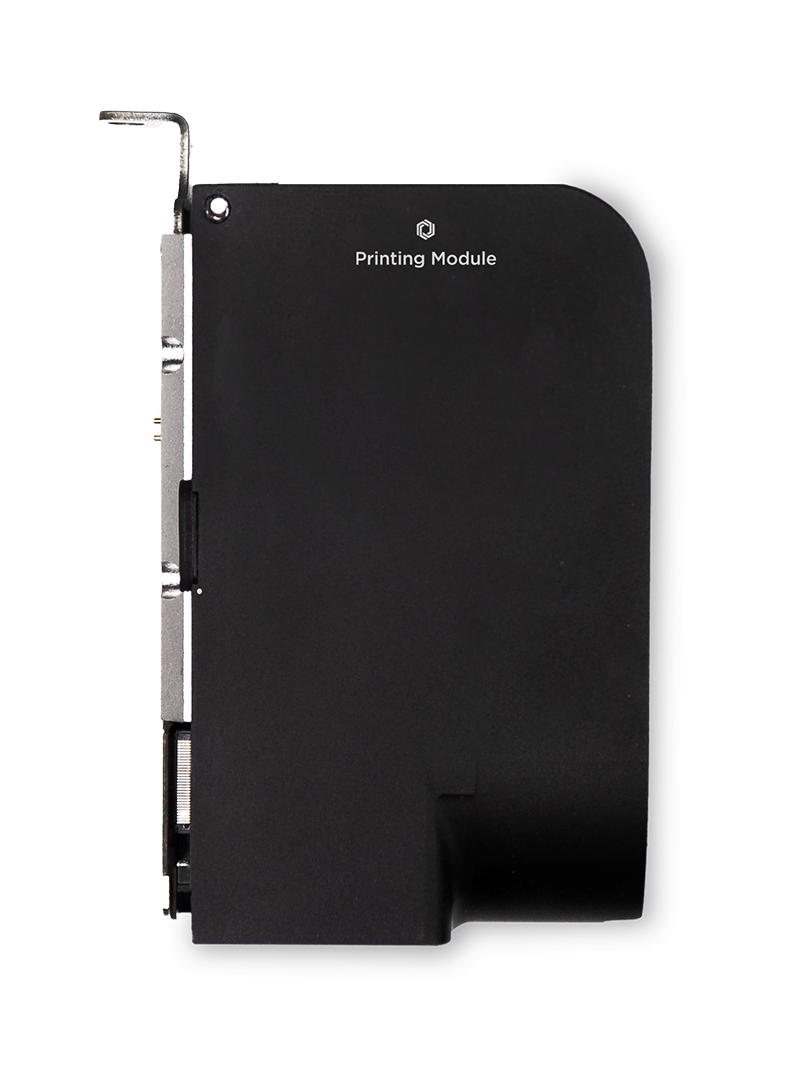
Printing module add-on
Utilizing color blending technology, we shift from simple single-color printing to producing vibrant multi-color effects, enhancing the vibrancy of your creations.
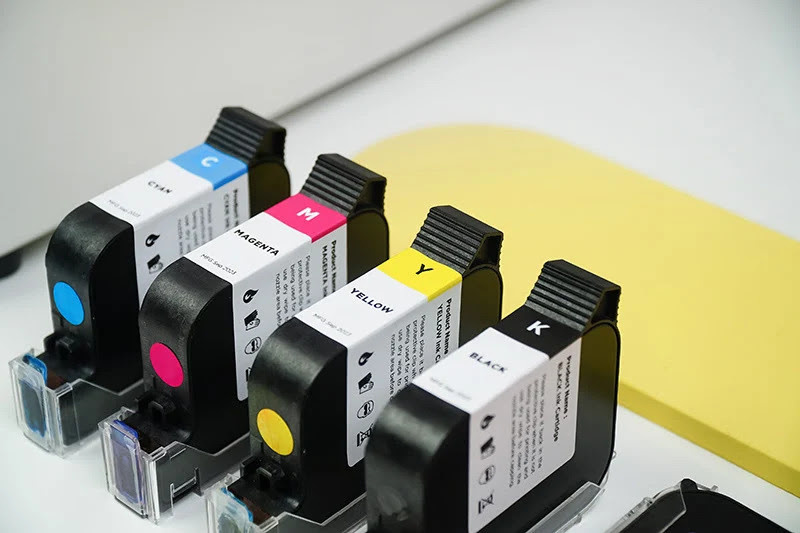
What type of ink is used for the Ador printing module?
Ador uses eco solvent ink, which is CMYK in four colors. This ink is suitable for printing on a wide array of materials such as wood, bamboo, cardboard, fabric, and canvas, among others. Applying a primer is essential for porous surfaces to ensure proper ink adhesion.
Beam Studio
The designated software for Ador is our reliable friend Beam Studio, which has been updated to accommodate Ador's new printing function. Beam Studio now offers enhanced capabilities, allowing users to tweak both parameter and ink settings for the printing module. It enables precise adjustment of ink output tailored to specific design files and also allows for direct modification of gradients and sharpness within Beam Studio, aligning with your individual preferences.
Canvas printing
To illustrate the functionality of the printing module, we’ll take canvas as a practical example. This will guide you through the process and help you understand how the printing module operates. Follow these steps to gain a clearer insight into its workings.
Step 1: place material & auto focus
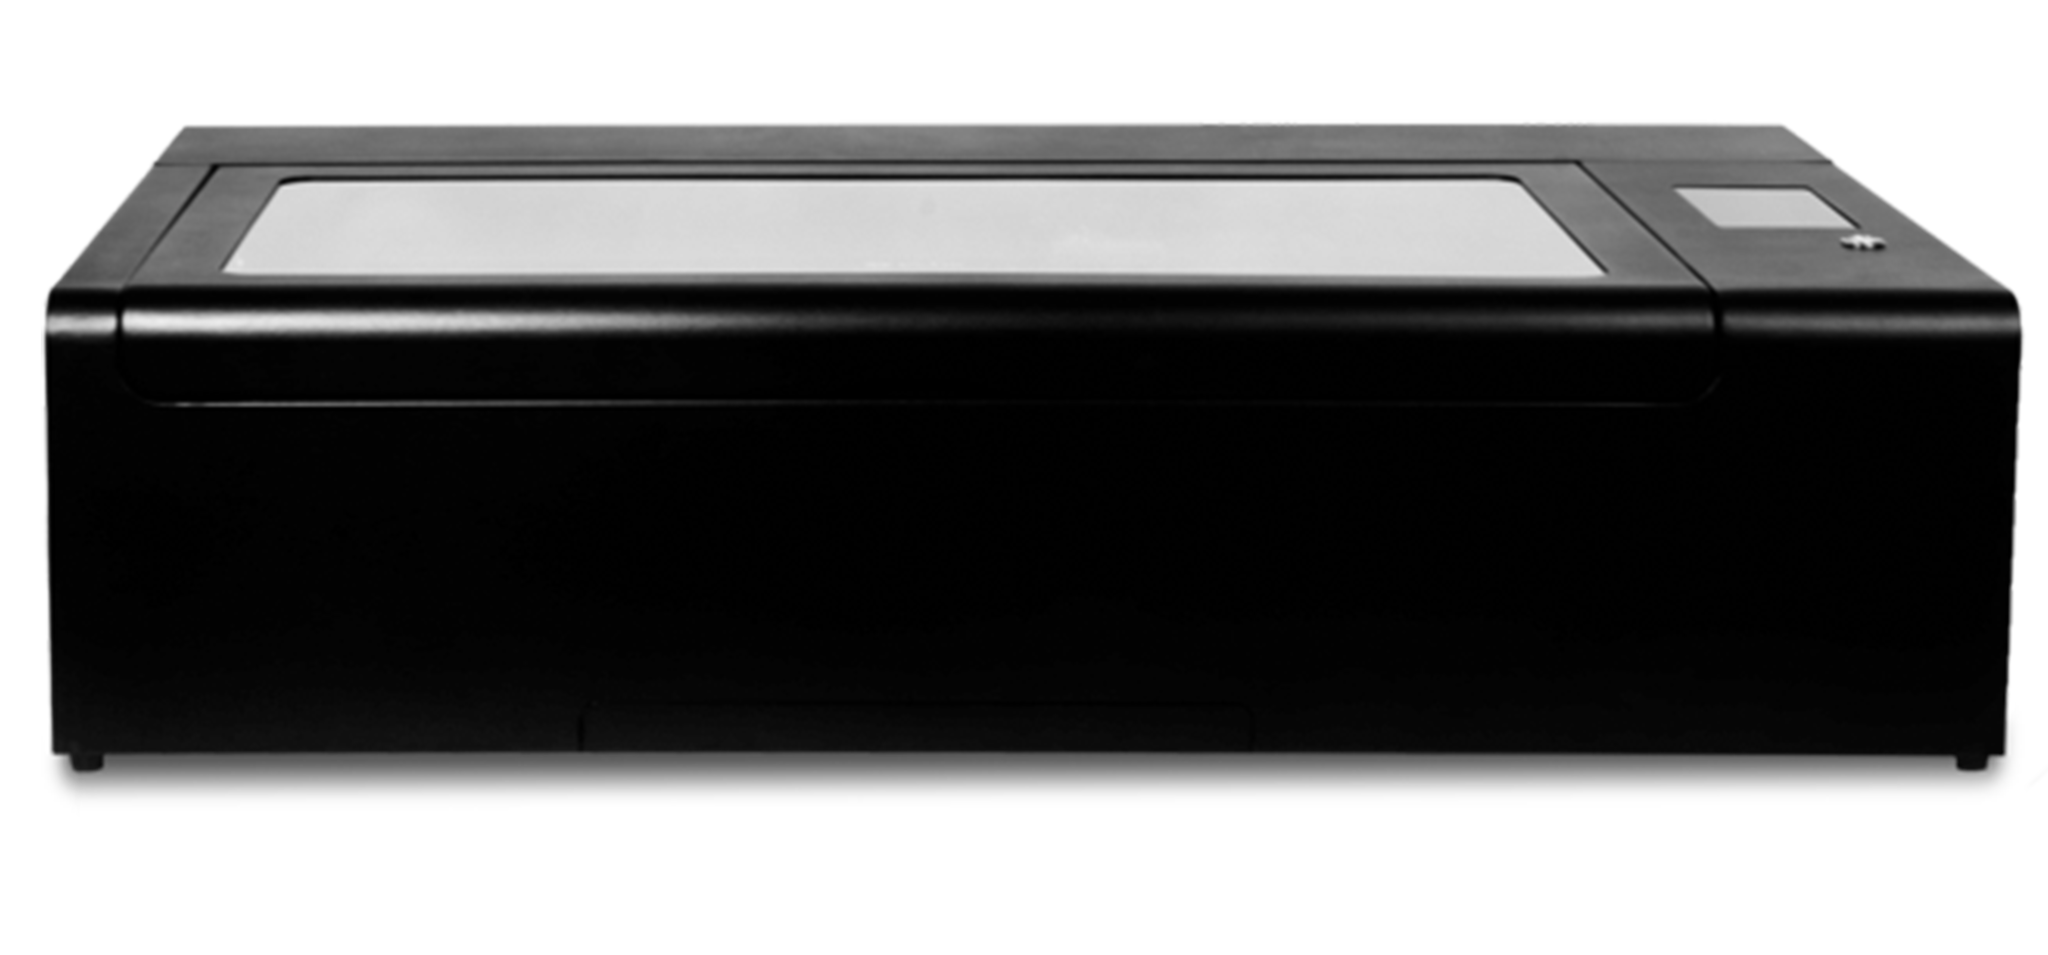
Ador features an expansive workspace measuring 16.9 x 11.8 inch with a depth of 1.18 inches, providing ample room to broaden your creative scope.
Ensure that your materials do not exceed these dimensions. Additionally, for lighter materials, it's advisable to use paper tape for stabilization to prevent them from being displaced by the airflow from the air assist during the operation of the printing module. After placing your material, long press the AF (Auto- Focus) button to focus on the material.
Step 2: camera preview
Ador comes with an 8MP high-resolution camera, enabling you to quickly preview your materials with just one click. Once you've previewed your materials, position your image on them. The printing module will then precisely print on the area where you've placed your image.
Step 3: parameter setting
Once you've previewed the material, you have the option to fine-tune the desired ink output. You can also divide the image into CMYK's four layers and modify the gradient and curves using Beam Studio's sidebar. After making these adjustments, simply click 'Start' to transmit the file to the machine.
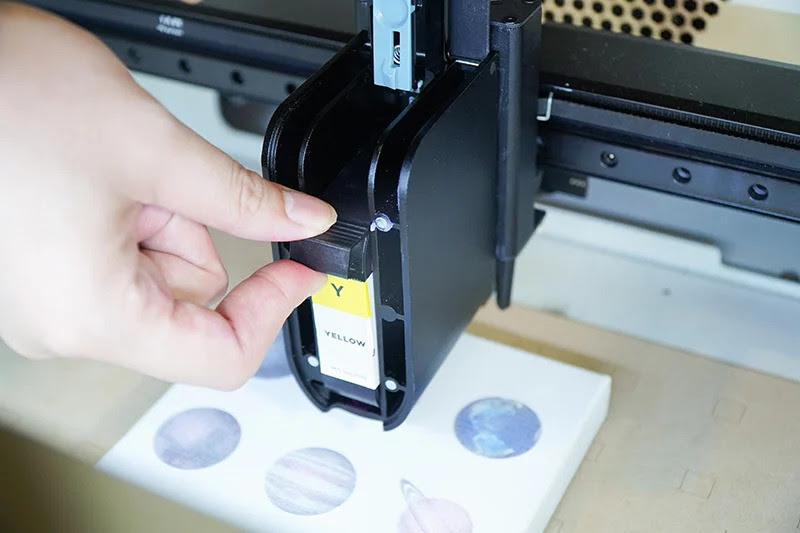
Step 4: change ink
Ador is equipped with individual ink cartridges in cyan, magenta, yellow, and black. For colored prints, just switch out the cartridge as needed. Additionally, Beam Studio will prompt you with a pop-up notification to remind you when it's time to change the inks.
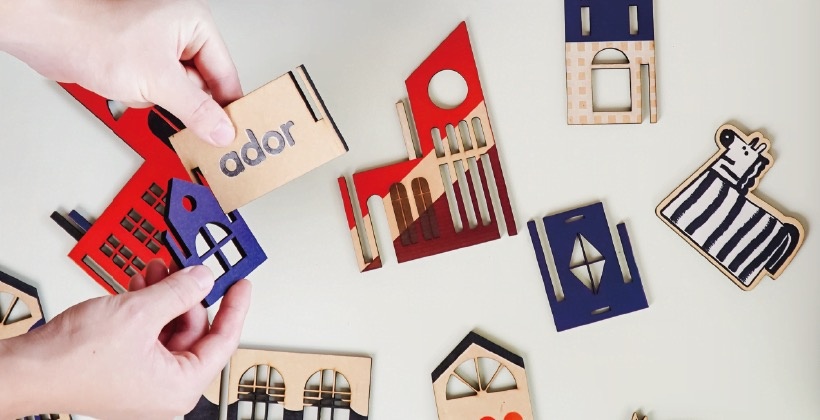
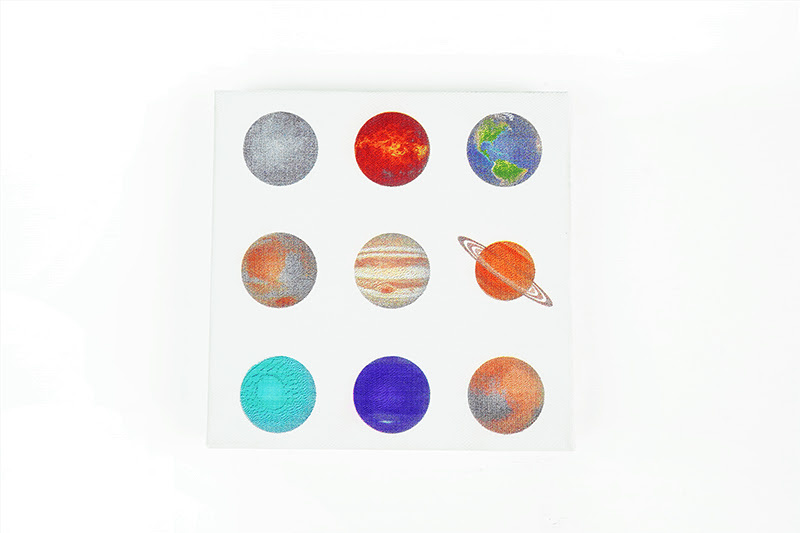
Simple creation in 4 steps
Finish your artwork effortlessly in just four easy steps to bring your personalized project to life with vibrancy.
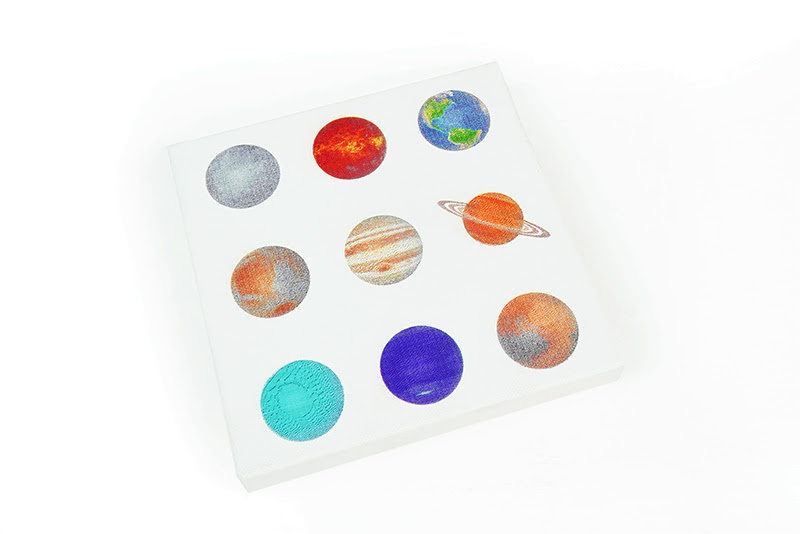
Play around with color in your creations
After laser cutting, Ador enables you to infuse vivid colors into your masterpiece.